---
title: Run your own analytics with Umami, Fly.io and Neon
subtitle: Self host your Umami analytics on Fly.io and powered by Neon Postgres
author: rishi-raj-jain
enableTableOfContents: true
createdAt: '2024-06-05T00:00:00.000Z'
updatedOn: '2024-06-05T00:00:00.000Z'
---
In this guide, you will learn how to self host your Umami analytics instance on Fly.io and powered by Neon Postgres as the serverless database.
## Prerequisites
To follow along and deploy the application in this guide, you will need the following:
- [flyctl](https://fly.io/docs/getting-started/installing-flyctl/) – A command-line utility that lets you work with the Fly.io platform. You will also need [a fly.io account](https://fly.io/docs/hands-on/sign-up/).
- [A Neon account](https://console.neon.tech/signup) – The self-hosted Umami analytics instance will connect to a Neon serverless Postgres database 🚀
## Steps
- [What is Umami?](#what-is-umami)
- [Provisioning a Postgres database using Neon](#provisioning-a-postgres-database-using-neon)
- [Set up an Umami instance for Fly.io](#set-up-an-umami-instance-for-flyio)
- [Configure Neon Postgres as serverless database for self-hosted Umami analytics](#set-neon-postgres-as-serverless-database-for-self-hosted-umami-analytics)
- [Deploy to Fly.io](#deploy-to-flyio)
## What is Umami?
Umami is a simple, fast, privacy-focused, open-source analytics solution. Umami is a better alternative to Google Analytics because it gives you total control of your data and does not violate the privacy of your users. [[1](https://umami.is/docs)]
## Provisioning a Postgres Database using Neon
Using a serverless Postgres database powered by Neon allows you to scale down to zero when the database is not being used, which saves on compute costs.
.
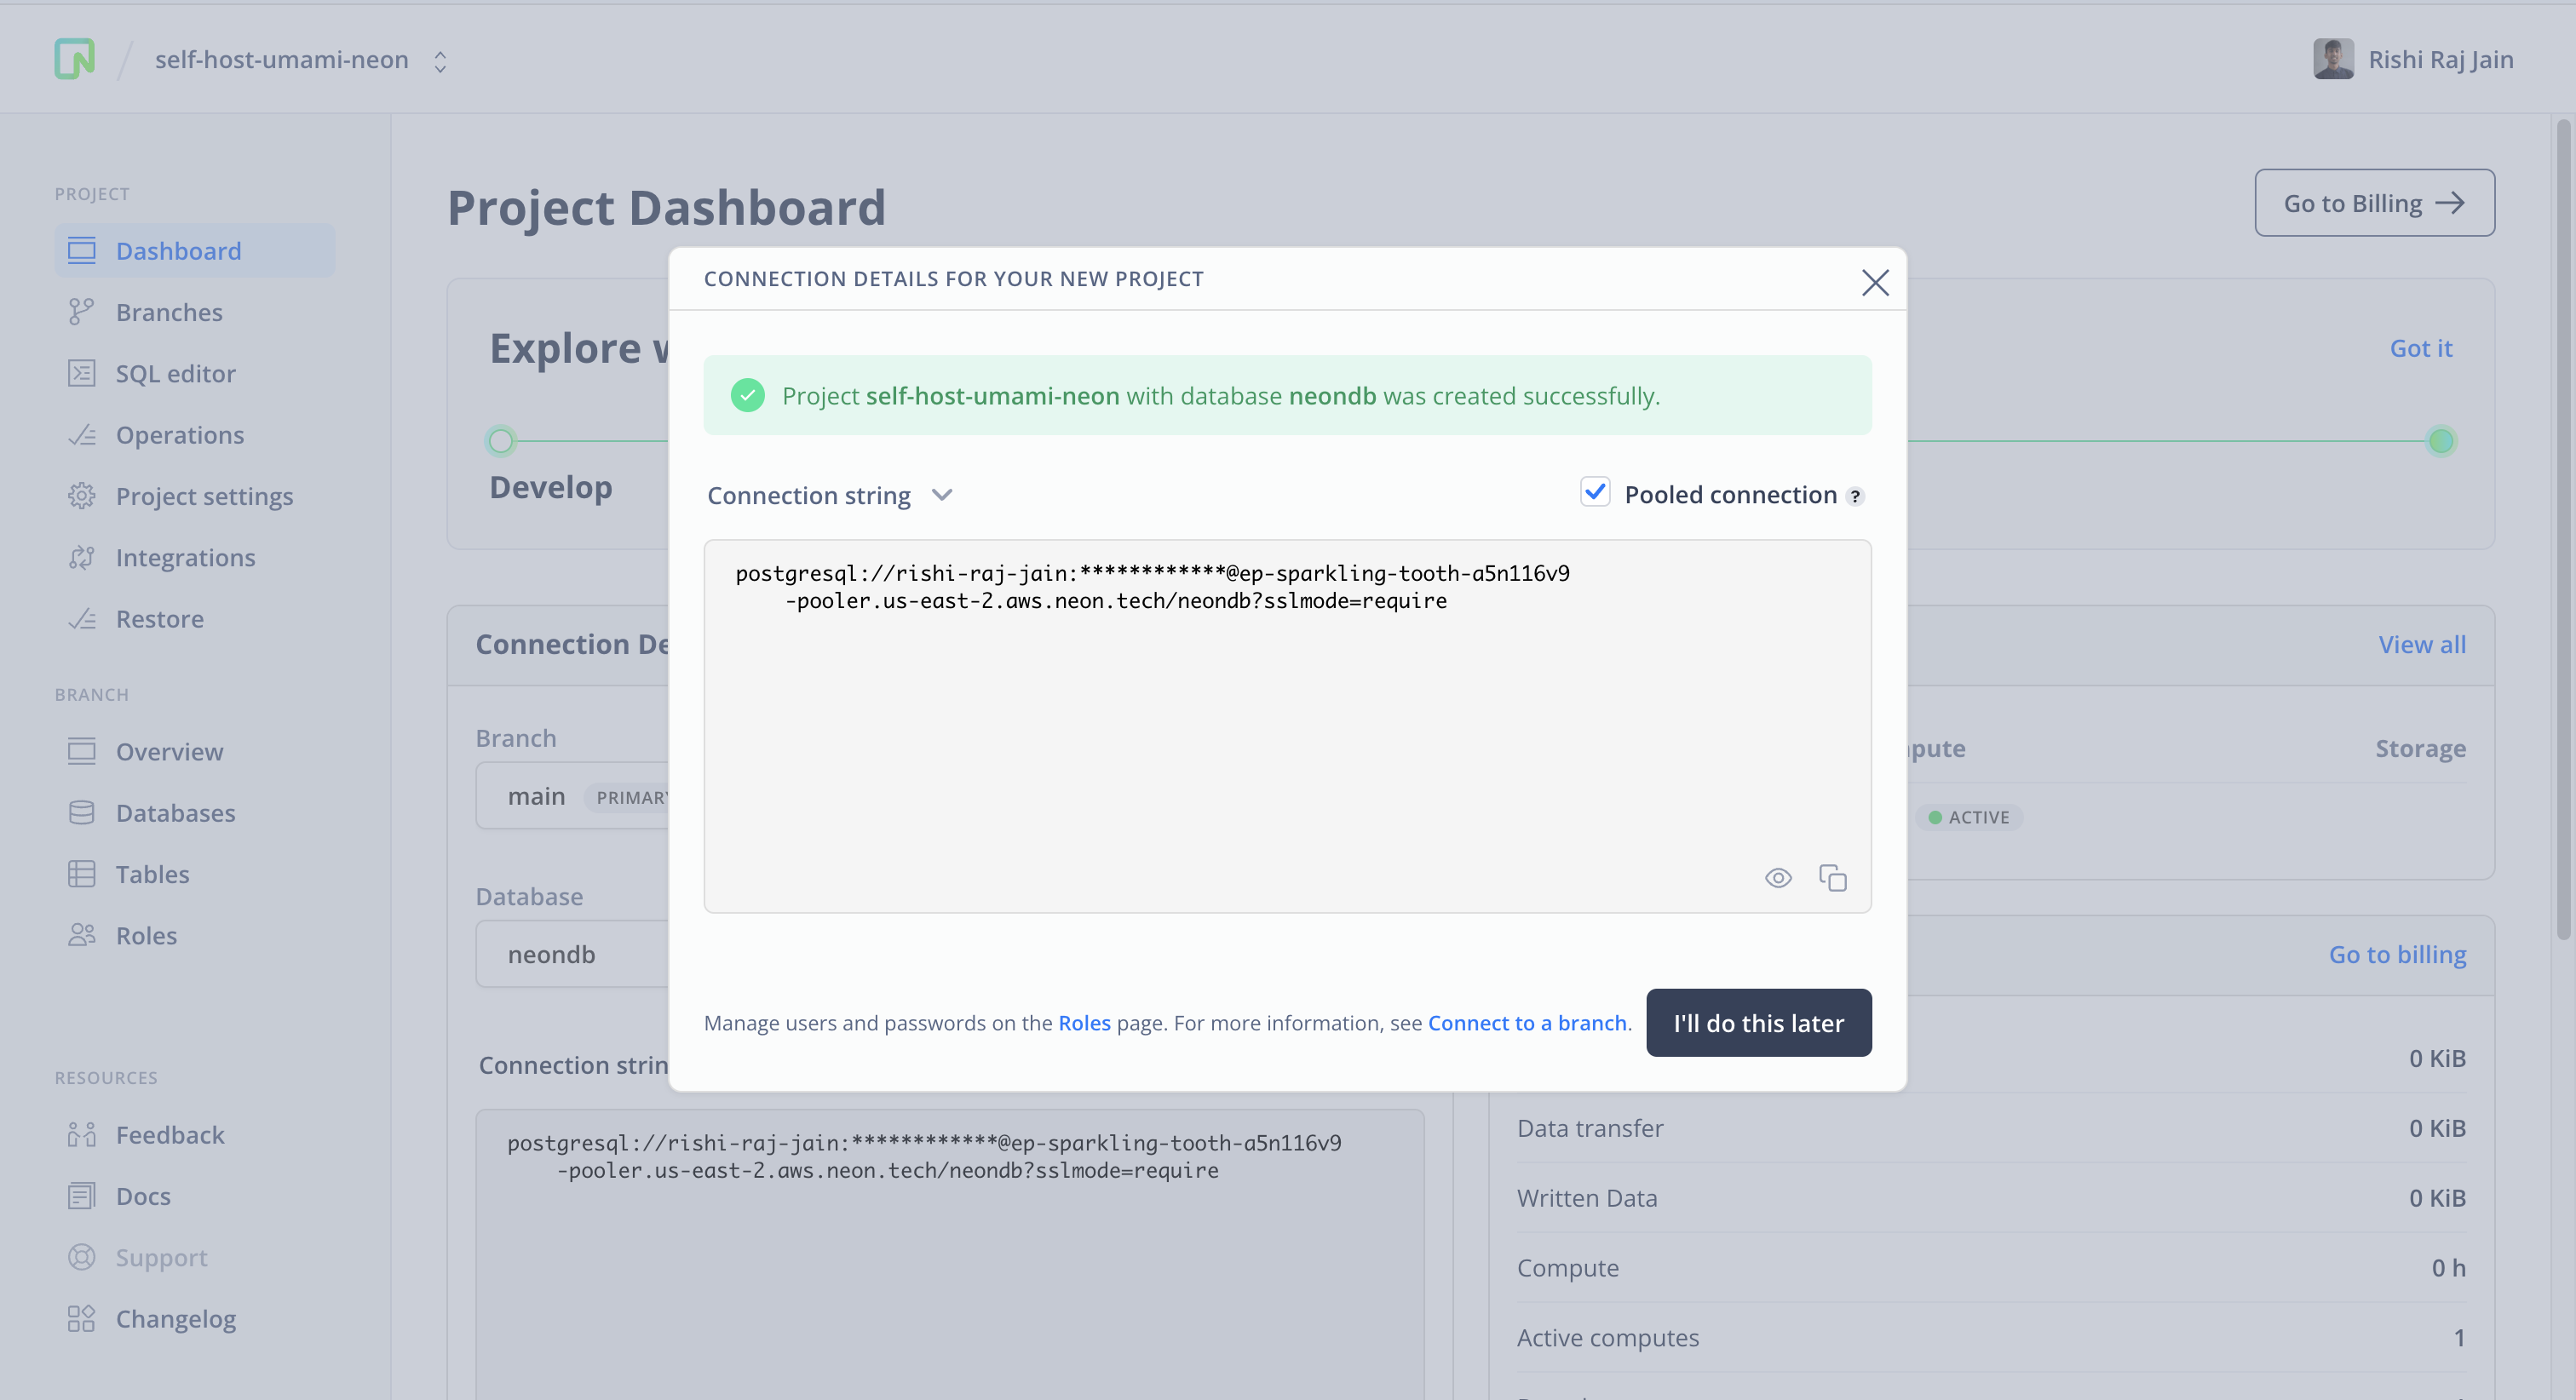
To get started, go to the [Neon Console](https://console.neon.tech/app/projects) and enter a name for your project.
You will be presented with a dialog that provides a connection string of your database. Enable the **Connection pooling** toggle for a pooled connection string.
All Neon connection strings have the following format:
```bash
postgres://:@.neon.tech:/
```
- `user` is the database user.
- `password` is the database user’s password.
- `endpoint_hostname` is the host with neon.tech as the [top level domain (TLD)](https://www.cloudflare.com/en-gb/learning/dns/top-level-domain/).
- `port` is the Neon port number. The default port number is 5432.
- `dbname` is the name of the database. “neondb” is the default database created with each Neon project if you don't specify your own database name.
- `?sslmode=require&channel_binding=require` are optional query parameters that enforce the [SSL](https://www.cloudflare.com/en-gb/learning/ssl/what-is-ssl/) mode and channel binding for better security when connecting to the Postgres instance.
Please save the connection string somewhere safe. Later, you will use it to configure the `DATABASE_URL` variable.
## Setup Umami analytics instance for Fly.io
To self host your Umami analytics instance, you'll use [Umami's pre-built Docker container for Postgres](https://github.com/umami-software/umami/pkgs/container/umami/157800125?tag=postgresql-latest). This will allow you to self host an Umami analytics instance on Fly.io with a single `fly.toml` file.
In your terminal window, execute the following commands to create a new directory and `cd` to it:
```bash
mkdir self-host-umami-neon
cd self-host-umami-neon
```
In the directory `self-host-umami-neon`, create a file named `fly.toml` with the following content:
```toml
# File: fly.toml
kill_signal = "SIGINT"
kill_timeout = "5s"
[experimental]
auto_rollback = true
[build]
image = "ghcr.io/umami-software/umami:postgresql-latest"
[[services]]
protocol = "tcp"
internal_port = 3000
processes = ["app"]
[[services.ports]]
port = 80
handlers = ["http"]
force_https = true
[[services.ports]]
port = 443
handlers = ["tls", "http"]
[services.concurrency]
type = "connections"
hard_limit = 25
soft_limit = 20
[[services.tcp_checks]]
interval = "15s"
timeout = "2s"
grace_period = "1s"
```
In the `build` property named `image`, you will see that it's pointing to the latest Postgres compatible pre-built Docker image of Umami.
Next, you need to create an app on Fly.io using the configuration present in `fly.toml` file. In your terminal window, execute the following command to launch a Fly.io app:
```bash
fly launch
```
When prompted by the CLI to allow copying of the existing configuration into a new app, answer with a `y`:
```bash
An existing fly.toml file was found
? Would you like to copy its configuration to the new app? Yes
```
Optional: When asked if you want to tweak the default settings, answer with a `y`:
```bash
Using build strategies '[the "ghcr.io/umami-software/umami:postgresql-latest" docker image]'. Remove [build] from fly.toml to force a rescan
Creating app in /Users/rishi/Desktop/test
We're about to launch your app on Fly.io. Here's what you're getting:
Organization: Rishi Raj Jain (fly launch defaults to the personal org)
Name: test (derived from your directory name)
Region: Mumbai, India (this is the fastest region for you)
App Machines: shared-cpu-1x, 1GB RAM (most apps need about 1GB of RAM)
Postgres: (not requested)
Redis: (not requested)
? Do you want to tweak these settings before proceeding? Yes
Opening https://fly.io/cli/launch/641f1a1d67950614e4e92820ba484310 ...
```
flyctl will then automatically take you to a web page, which allows you to visually edit the default settings. For example, you can change the app name to `self-host-umami-neon`, and change the region to say `ams`.
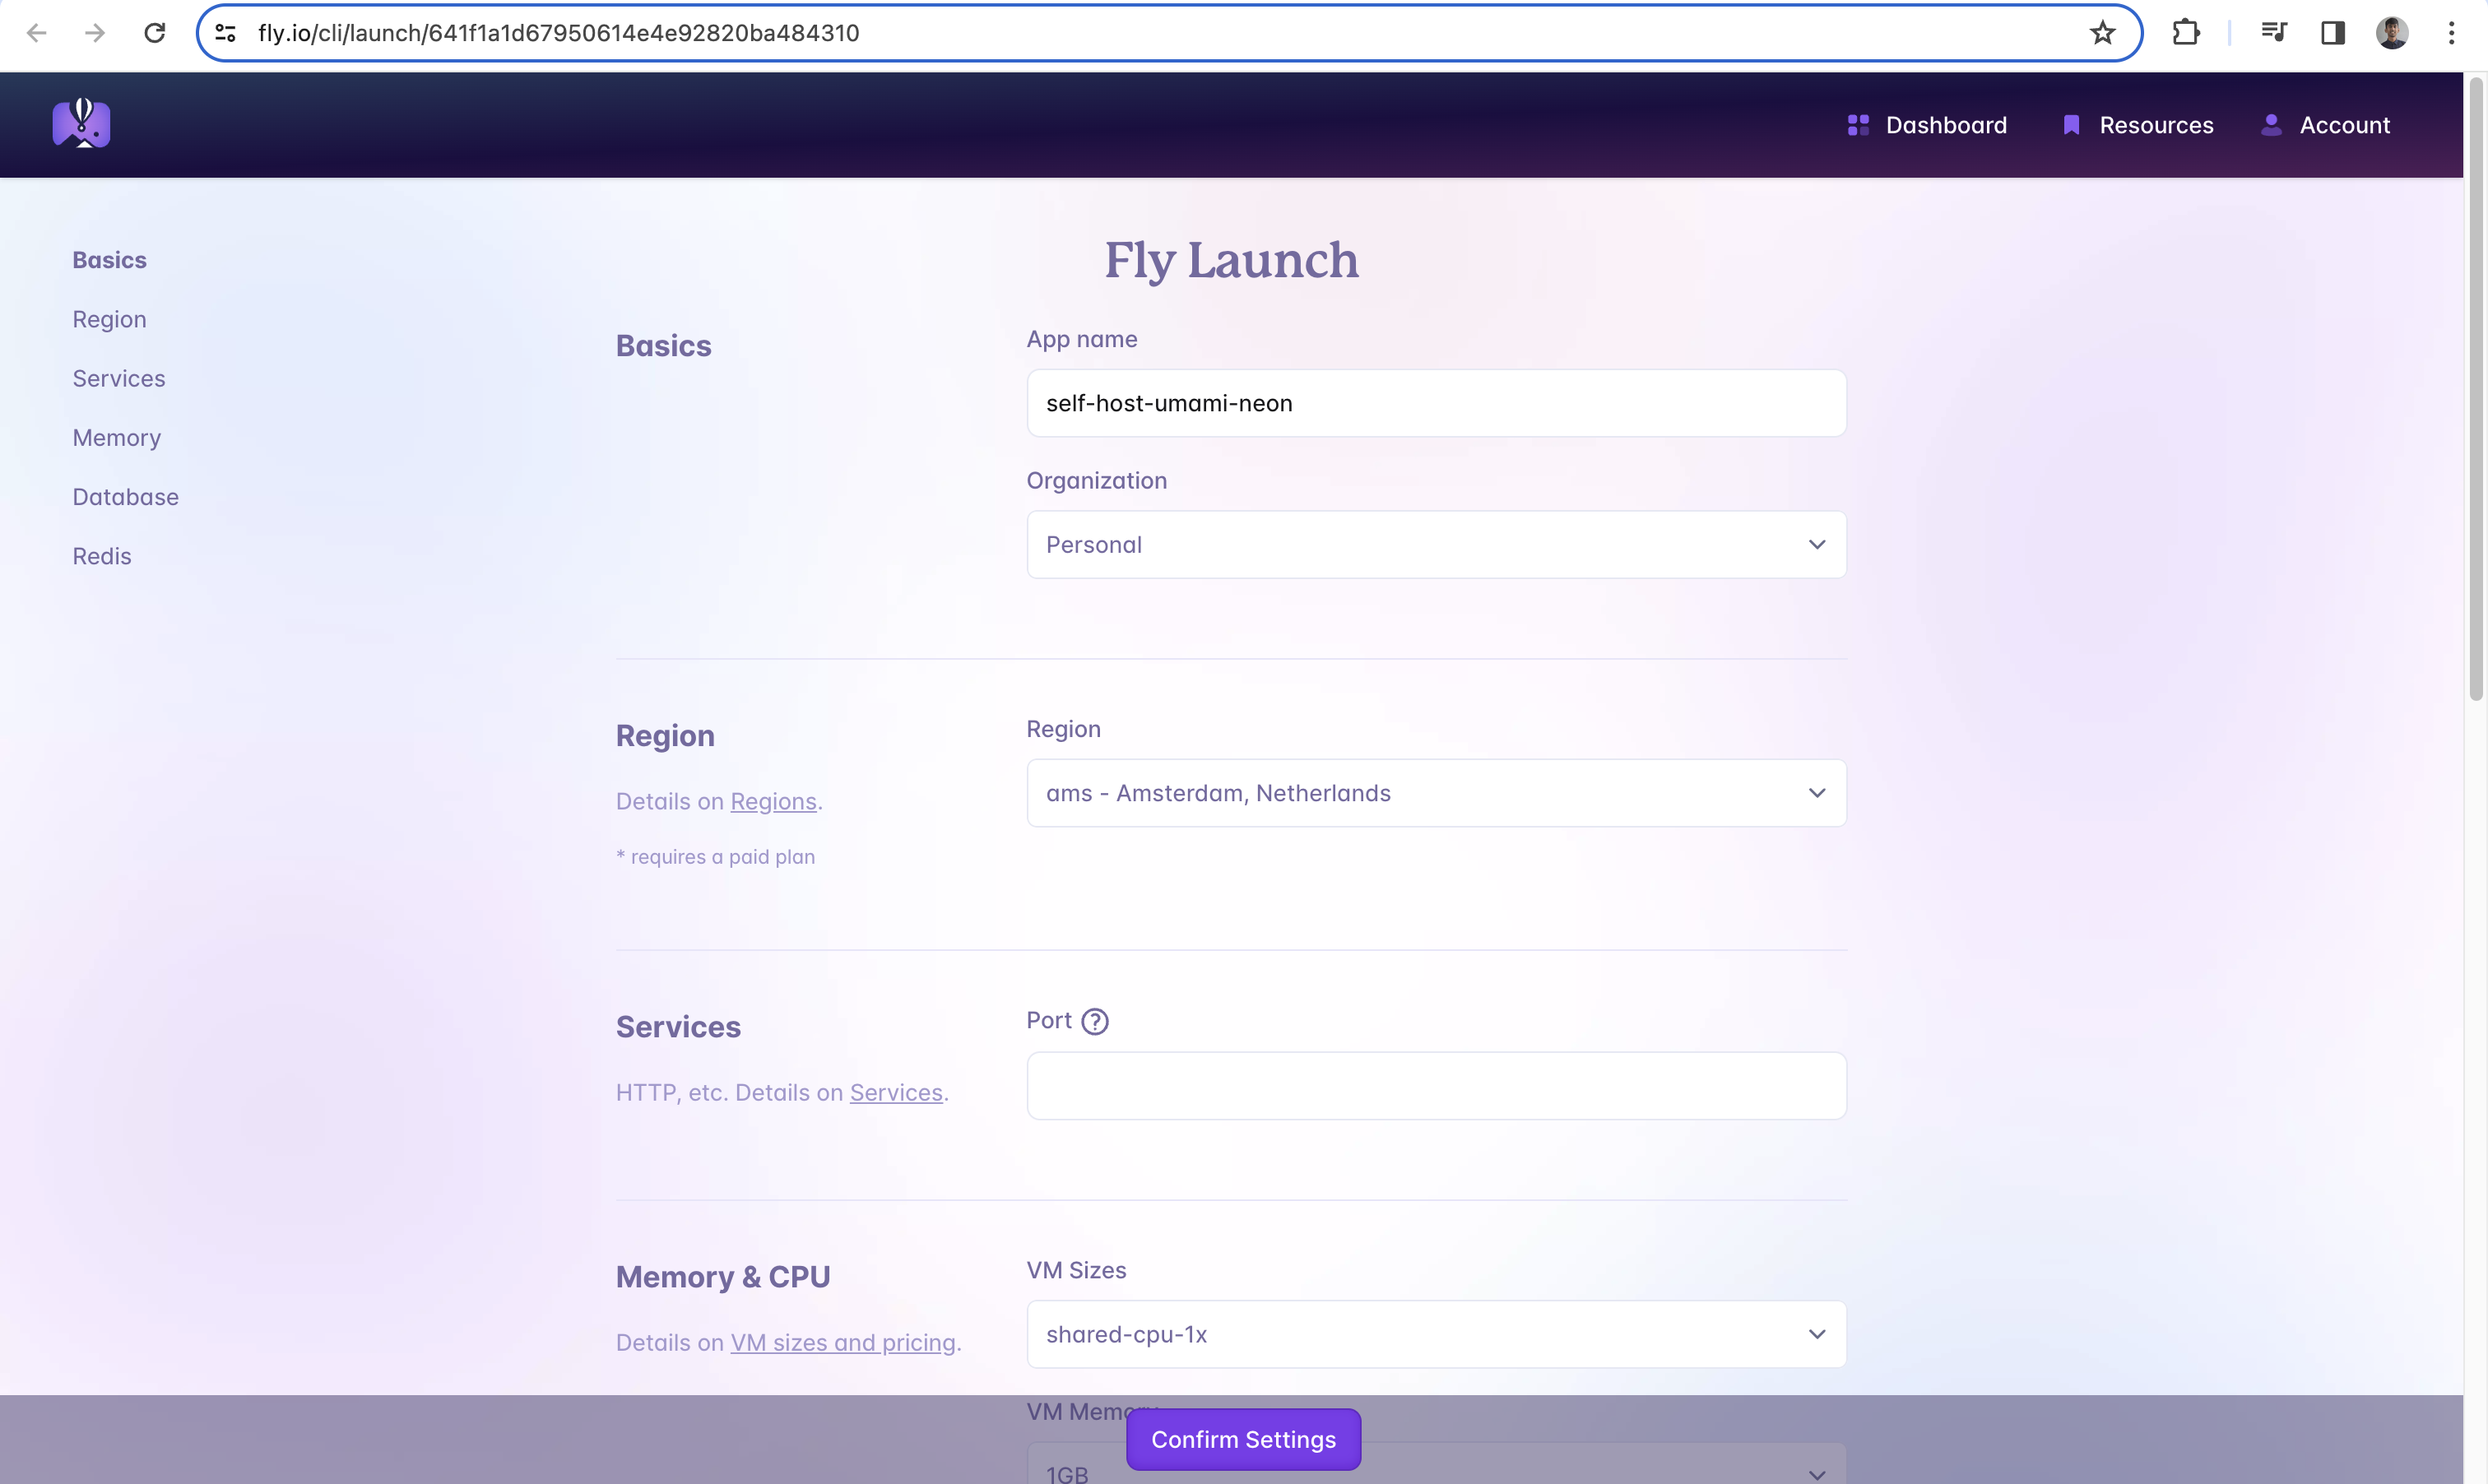
Click on `Confirm Settings` to set this configuration, and go back to your terminal window. In your terminal window, you should now see output similar to the following:
```bash
Waiting for launch data... Done
Created app 'self-host-umami-neon' in organization 'personal'
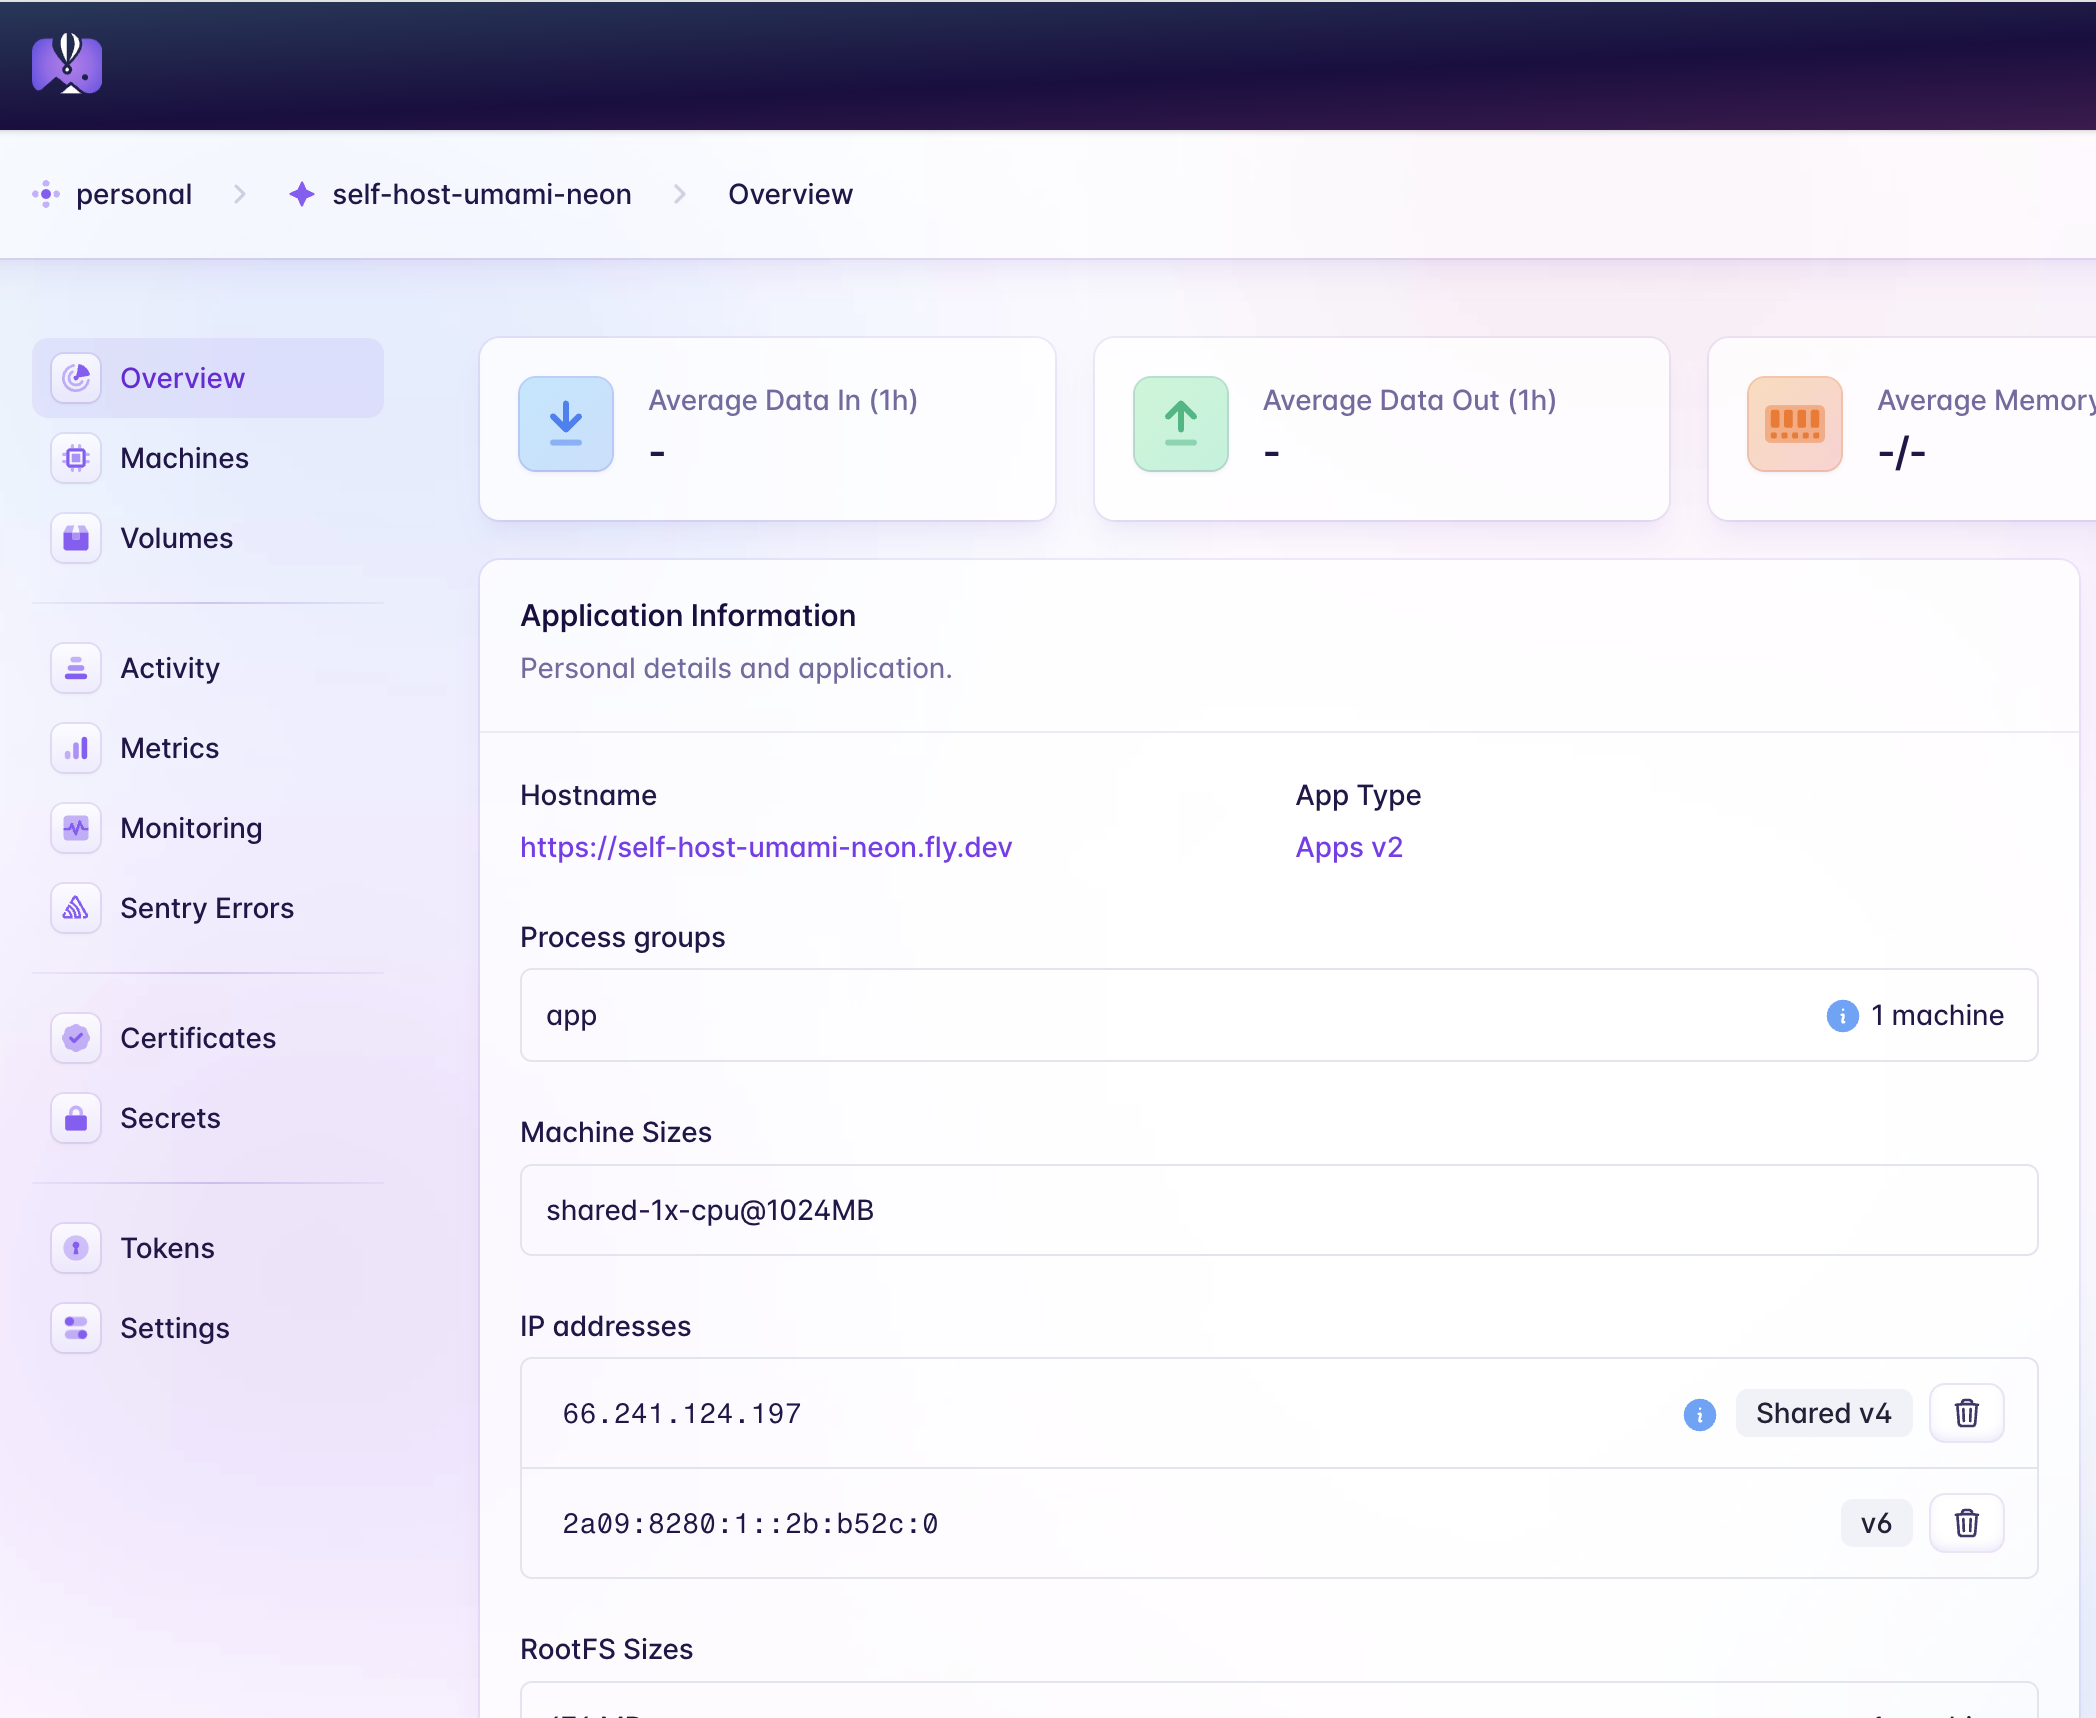
Admin URL: https://fly.io/apps/self-host-umami-neon
Hostname: self-host-umami-neon.fly.dev
Wrote config file fly.toml
Validating /Users/rishi/Desktop/test/fly.toml
✓ Configuration is valid
==> Building image
Searching for image 'ghcr.io/umami-software/umami:postgresql-latest' remotely...
image found: img_8rlxp2mjm9g43jqo
Watch your deployment at https://fly.io/apps/self-host-umami-neon/monitoring
Provisioning ips for self-host-umami-neon
Dedicated ipv6: 2a09:8280:1::2b:b52c:0
Shared ipv4: 66.241.124.197
Add a dedicated ipv4 with: fly ips allocate-v4
This deployment will:
* create 2 "app" machines
```
Once the deployment is ready, you are left with just one step — to set the `DATABASE_URL` environment variable that we obtained in the previous section. We'll do that in the next section.
## Configure Neon Postgres as serverless database for self-hosted Umami analytics
In your Fly.io [Dashboard > Apps](https://fly.io/dashboard), click on your app name, and you will be taken to the overview of your app on Fly.io.
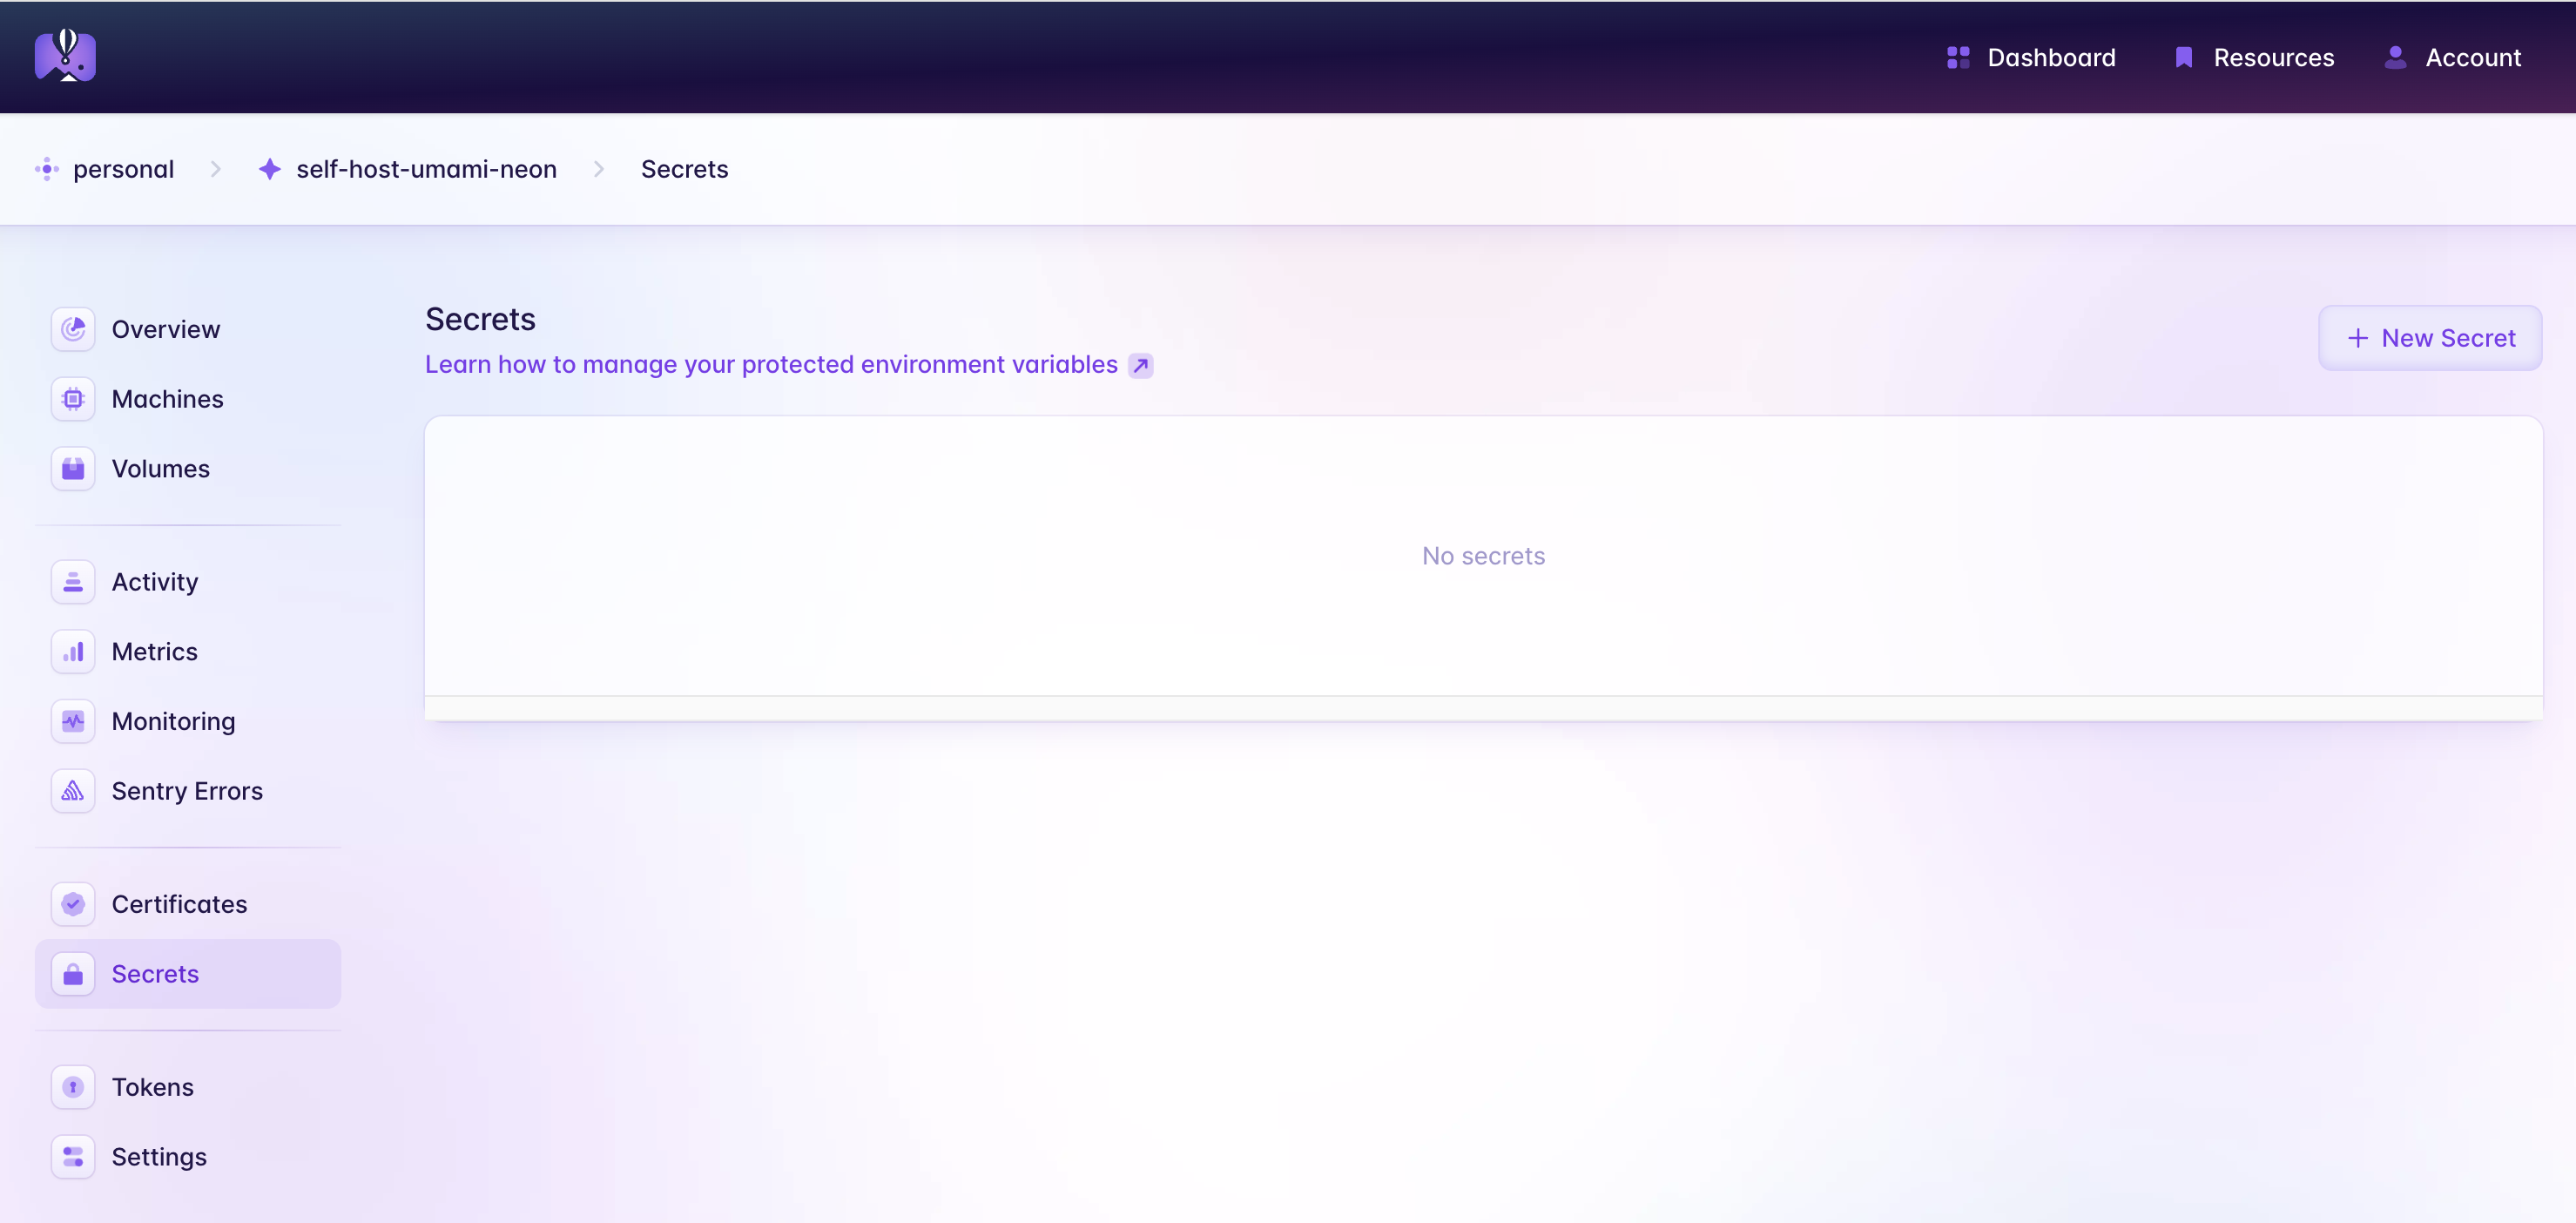
Click on `Secrets` in the left sidebar, and then click on `New Secret` on the top right corner to start creating an environment variable for your app.
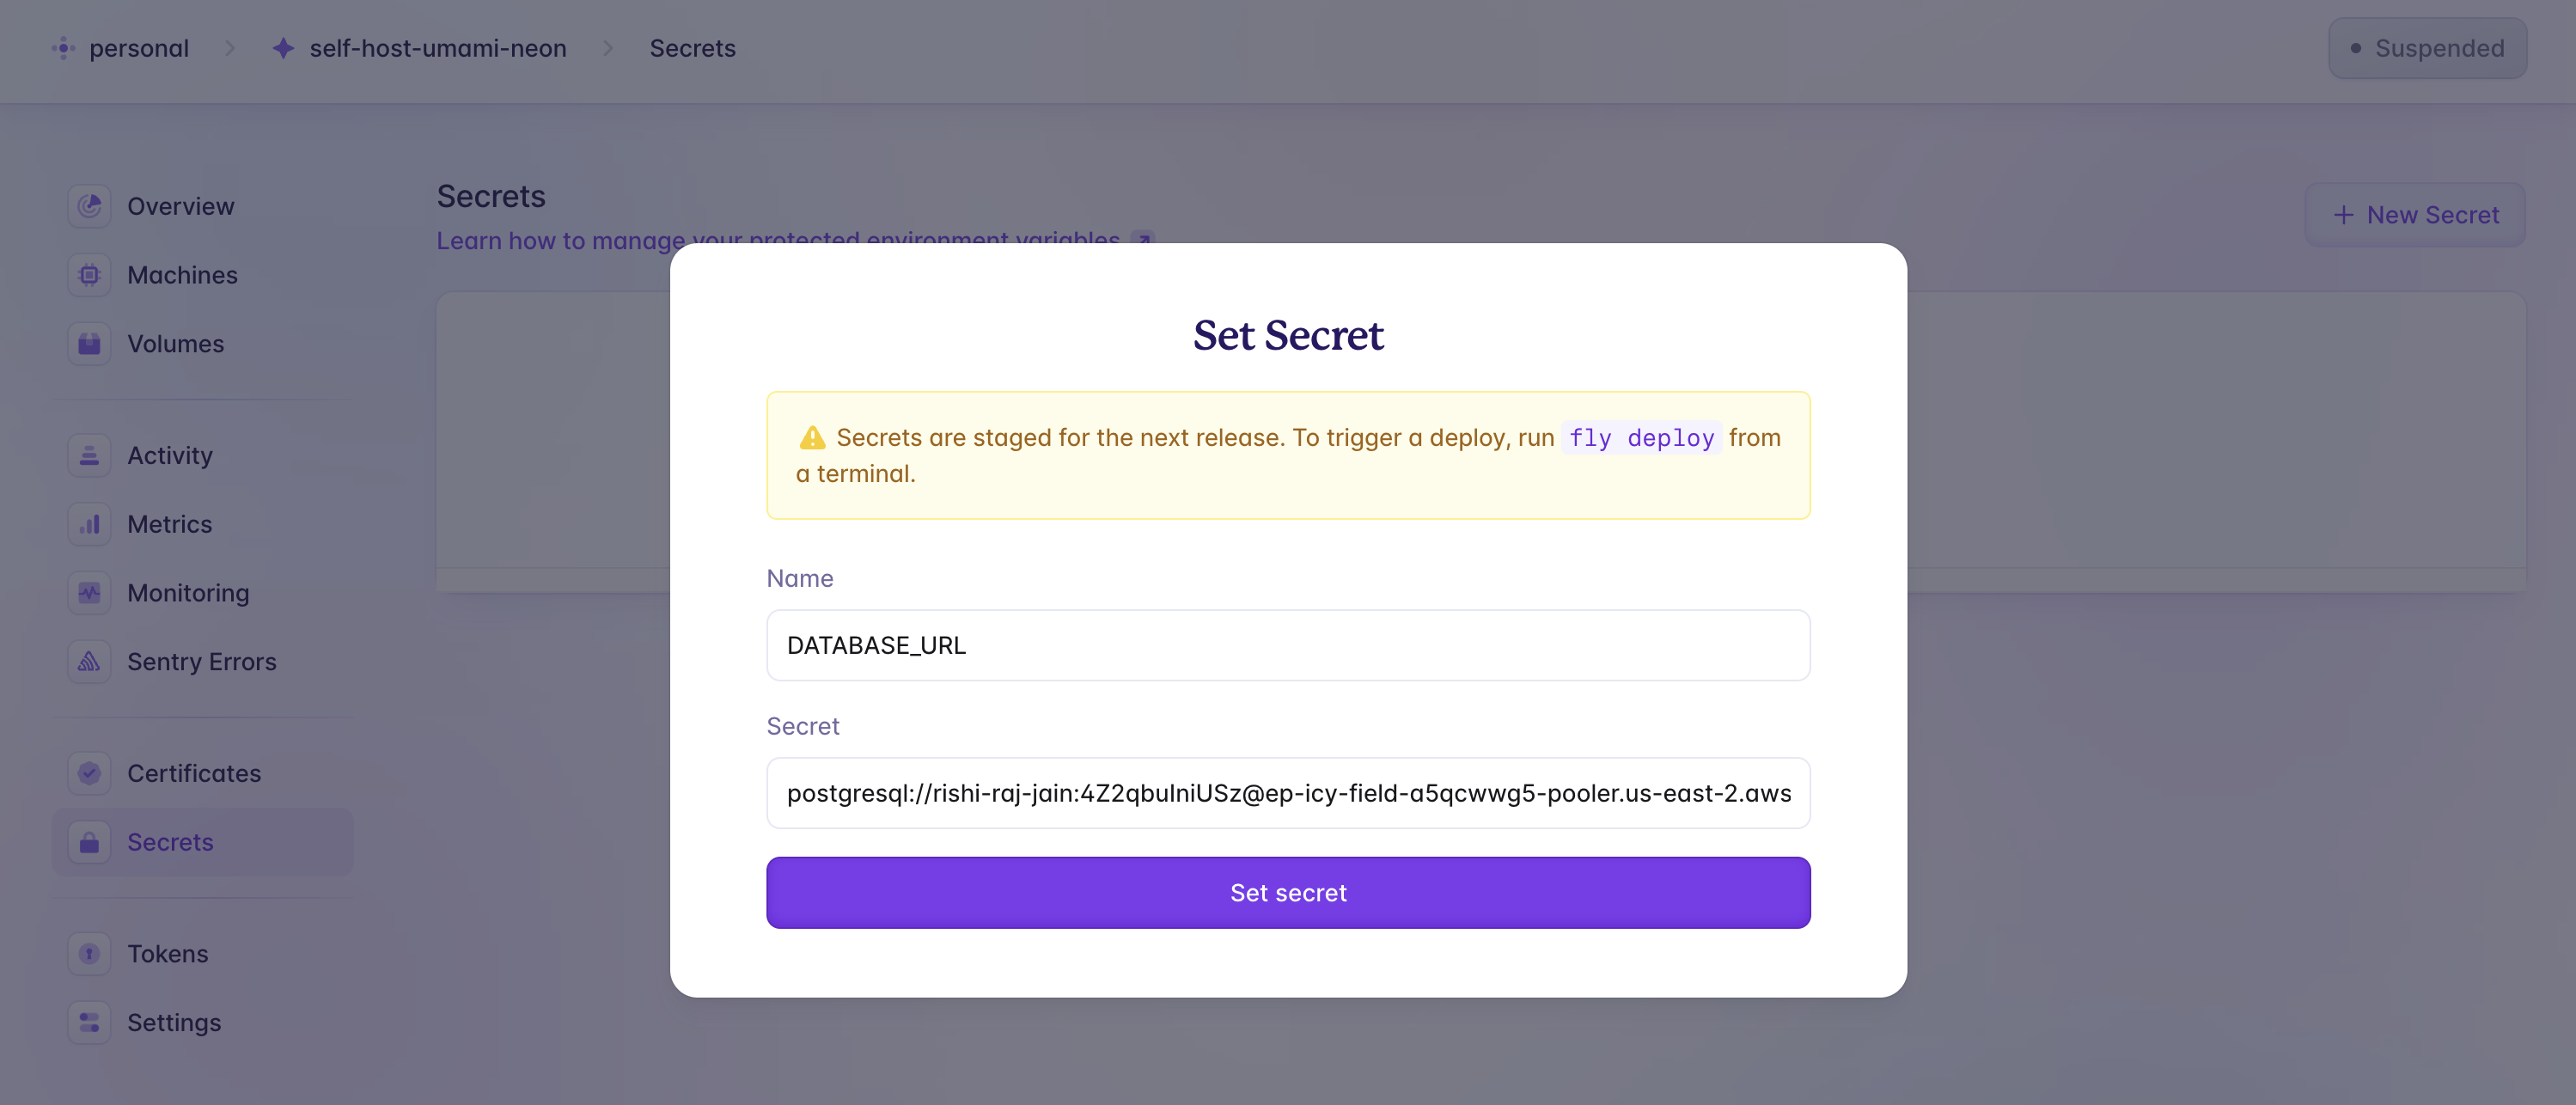
In the modal, set the name of the secret as `DATABASE_URL`, and set the `Secret` value to be the one that we obtained in the previous section. Click **Set secret** to save the environment variable.
Great! With that done, you have succesfully ensured that each deployment of your app on Fly.io will have the database URL pointing to the Neon Postgres instance. Let's trigger a deploy to see it all in action.
## Deploy To Fly.io
You can now deploy your app to Fly by running the following command:
```bash
flyctl deploy
```
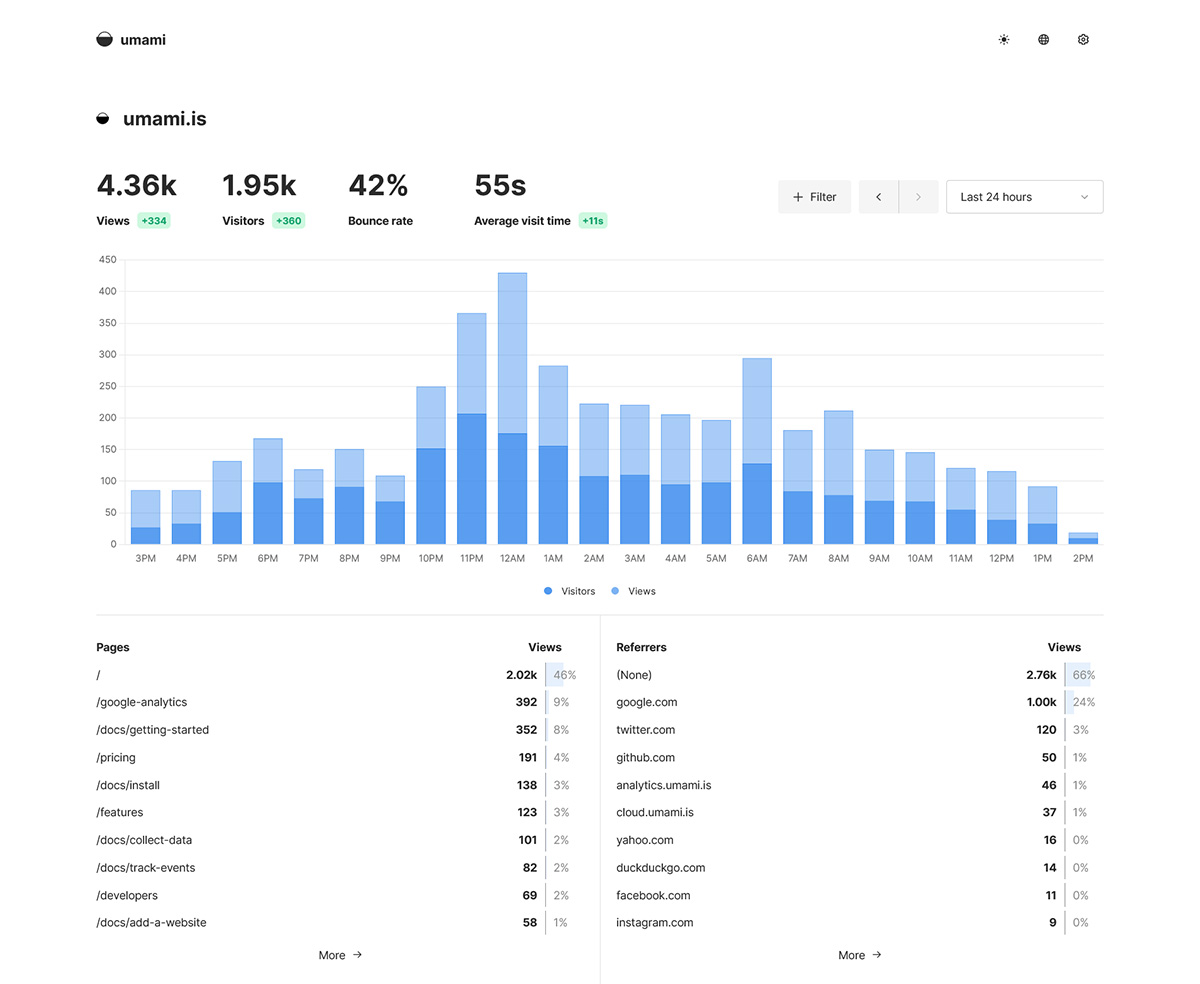
Once deployed, you will be able to log into your self hosted Umami analytics instance with the default credentials, i.e.; **admin** as the username & **umami** as the password. You will then be able to create new websites and analyze the traffic to those sites.
## Summary
In this guide, you learned how to run your own Umami analytics instance for analytics with Fly.io, powered by Neon postgres as your database.